Showing posts with label bo bunny. Show all posts

Monday, July 18, 2016

Mason Jar Mini Album Quick & Easy

Hi everyone!!

Today I am sharing my Design Team Project using this super cute idea you make in one day. Do you get the kits from Country Craft Creations?? Well if you do, you can use those cute little chipboard mason jars you got in July's Kit and the BoBunny Secret Garden paper collection to make this little mini album.
In my last video about 2 weeks ago I showed you how to use the BoBunny Gesso as a paste with your stencil to make a pattern on the front of your chipboard then you can add the BoBunny pearlescents on top of the stenciled pattern to create a really lovely mixed media cover. You can also use the pearlescents to create a unique look to your metal embellishments and resins.
Hope you are inspired to give this a try.
Check out the CountryCraftCreations Store for everything you see here.

Thanks for tuning in, See ya next time! :D 
Deborah xxxx


Sunday, July 3, 2016

Butterfly Kisses Micro Mini Brag Book

Hi all,

Today I am sharing a little Micro Mini Brag Book you can fit wallet size photo's inside. It actually fits in the palm of your hand. Such a great gift to give for sending someone pictures that they can keep and carry around with them.

I used the beautiful BoBunny Beautiful Kisses I received from Tamra's store CountryCraftCreations.com. So if you see anything you like or want to see head on over to her store she's got some fabulous items even some kit boxes - Craftology boxes.

Well I hope you all like it. As always I will tell you in detail what I used.

So first the front and back cover are 2 1/4 in x 2 1/2 in. ; The little tags are 1 7/8in 3 3/4 inches and fold in half. The mason jars are fussy cut from the 12x12 sheet. and adhered on to the little tags. If you watch the video below you see how the tags were completed. I used a brad to secure the chain I used for the front and back. I also used the sticker sheet from the 12x12 stack to fussy cut the little mason jar and the sentiment.


The metal butterfly is painted with BoBunny pearlescents, I show you how to do this technique and another technique using BoBunny's Gesso on chipboard with the pearlescents.


Here is the side of the Micro Mini. There are six pages all together and six tags. :D


Here's the video of the Micro Mini Brag Book;Plus techniques using BoBunny Pearlescents & Gesso.

Thank you all for stopping by and wishing you all a great 4th of July and a wonderful week.

Hugs, 
Deborah xxx

Saturday, June 11, 2016

Father's Day Box Card

Hi all,

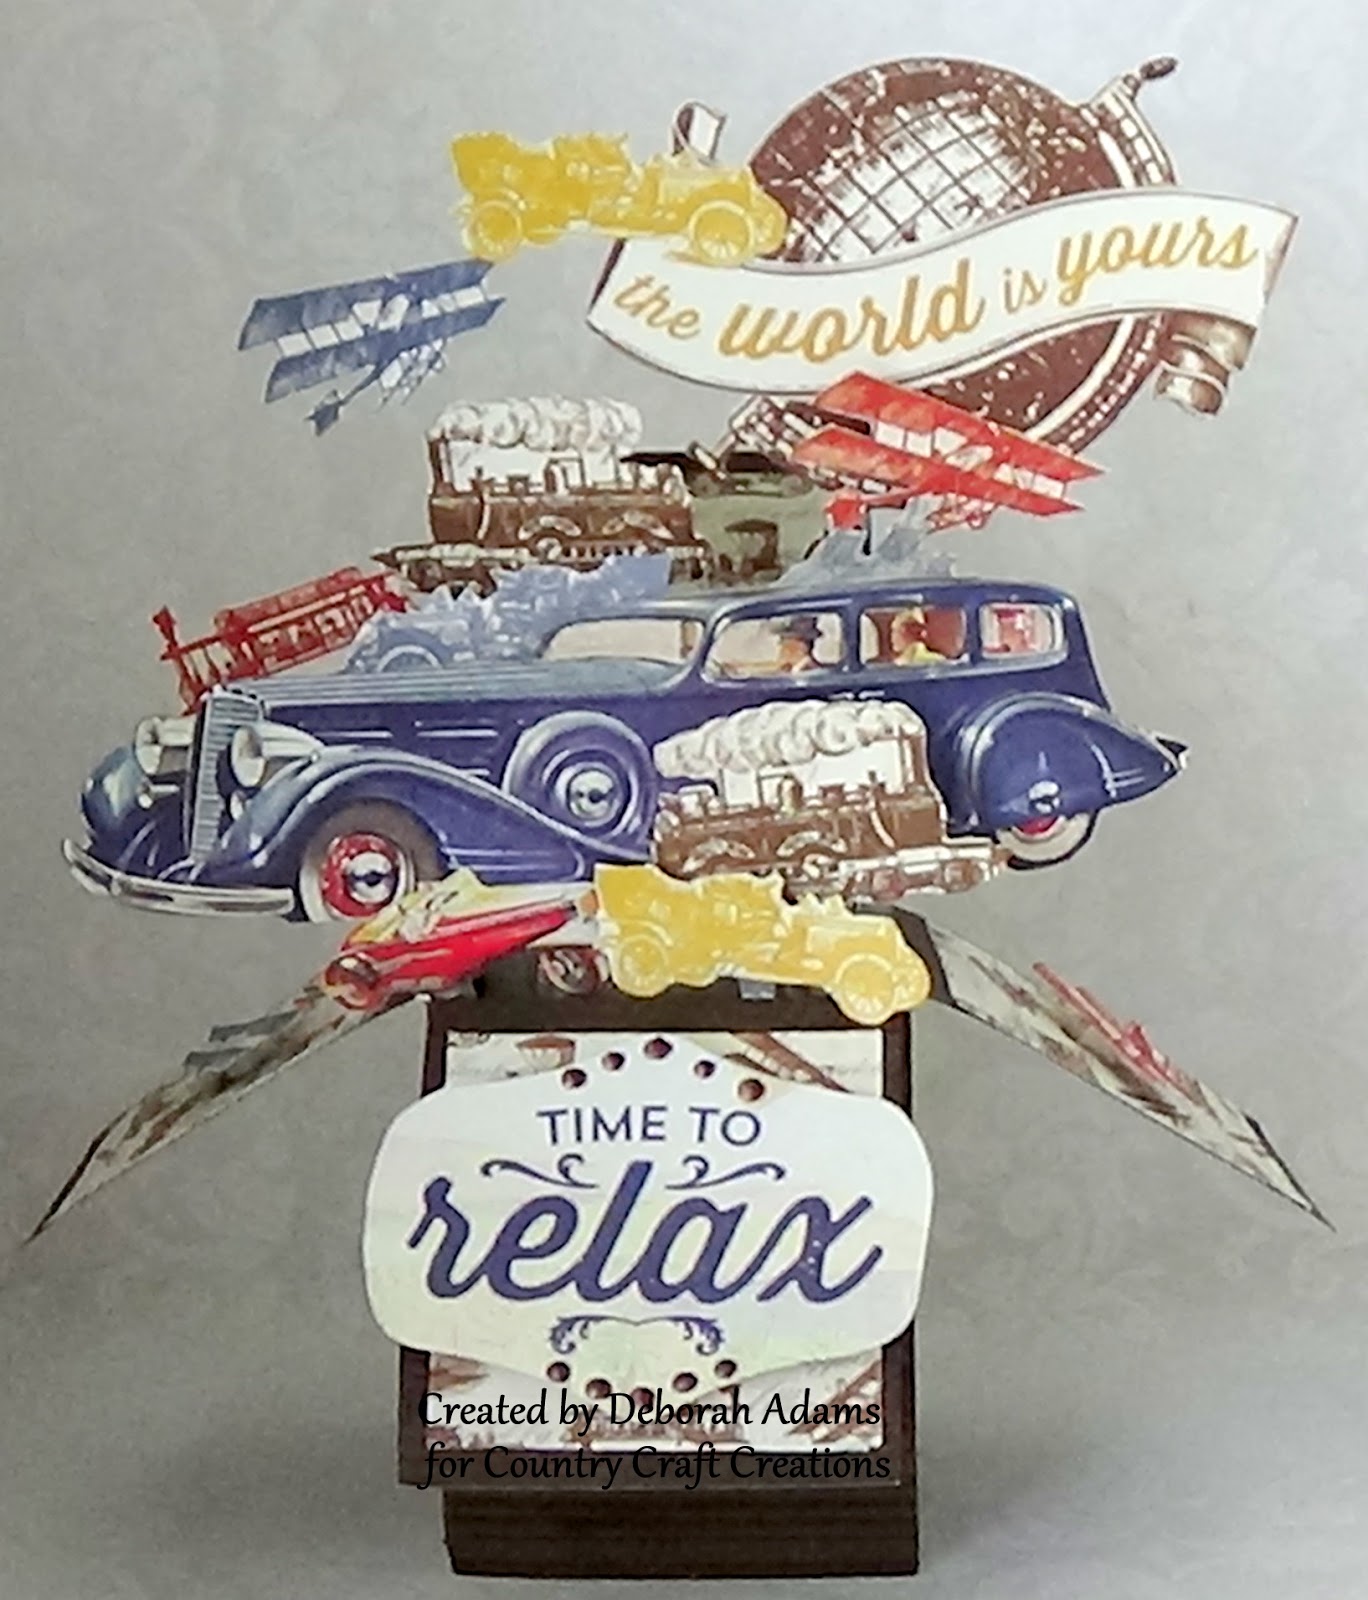
Deborah here bringing you a Father's Day Box Card I created using Authentique's Explore paper collection. You may have seen this card already on the facebook page. But I am also sharing with you a shaker card I created and a 3 part YouTube Tutorial on how I made my Box Card.

Up first the Shaker card made with Authentique Explore paper Collection.

The inside is also decorated with items I fussy cut from the 12x12 sheet. 


Next I have the Father's Day Box Card that I created from 

Here is a close up of the items I used from the 12x12 sheets that I fussy cut.

Here is a close up of the front flap. 
I used BoBunny Chocolate Pearlescents.

This is a side flap of the box card and I fussy cut the blue airplane
and used 3D pop dot to create a 3D effect. 

This is a side flap of the box card and I fussy cut the blue airplane
and used 3D pop dot to create a 3D effect. 

Here is the video tutorial of the Father's Day Box Card, It is 3 part Tutorial that has a few tips inside each part. Hope you enjoy and get inspired to make one. I tried to keep them short and sweet and  easy.  

 Here is the first tutorial which will take you to the
 second and third. Enjoy. 

Thank you for stopping by. Wishing you a great weekend and a wonderful week. 
Hugs 
Deborah 

Saturday, June 4, 2016

So Full Of Love Bouquet

Hi all, It's me again. lol 

This lovely day I am bringing to you a DT project a Box Card or some people also call it PopUp Box Card. I made this card using the beautiful paper from Tamra's store CountryCraftCreations - Carta Bella white card stock & BOBunny - Butterfly Kisses Collection. You can also see my video on this collection, it's so yummy. https://www.youtube.com/watch?v=35yPw8GI5rg 

For this card I used the 12x12 sticker sheet and one of the 6x6 sheets for the panels and I did a lot of fussy cutting from the beautiful 12x12 printed paper with the birds, butterflies and flowers. And there is a back panel to write or stamp you sentiments. 

As always I will list the steps or what I did for each photo. Well lots of pic's so sit back and enjoy. 

Here is one of the little mason jars from the 12x12 sticker sheet.
I also used the BoBunny Pearlescents - Island Mist on the flower center.
It's so pretty. I also popped these up using the 3D pop ups.  


Here is another sticker I used and I did the 3D pop ups behind it. 
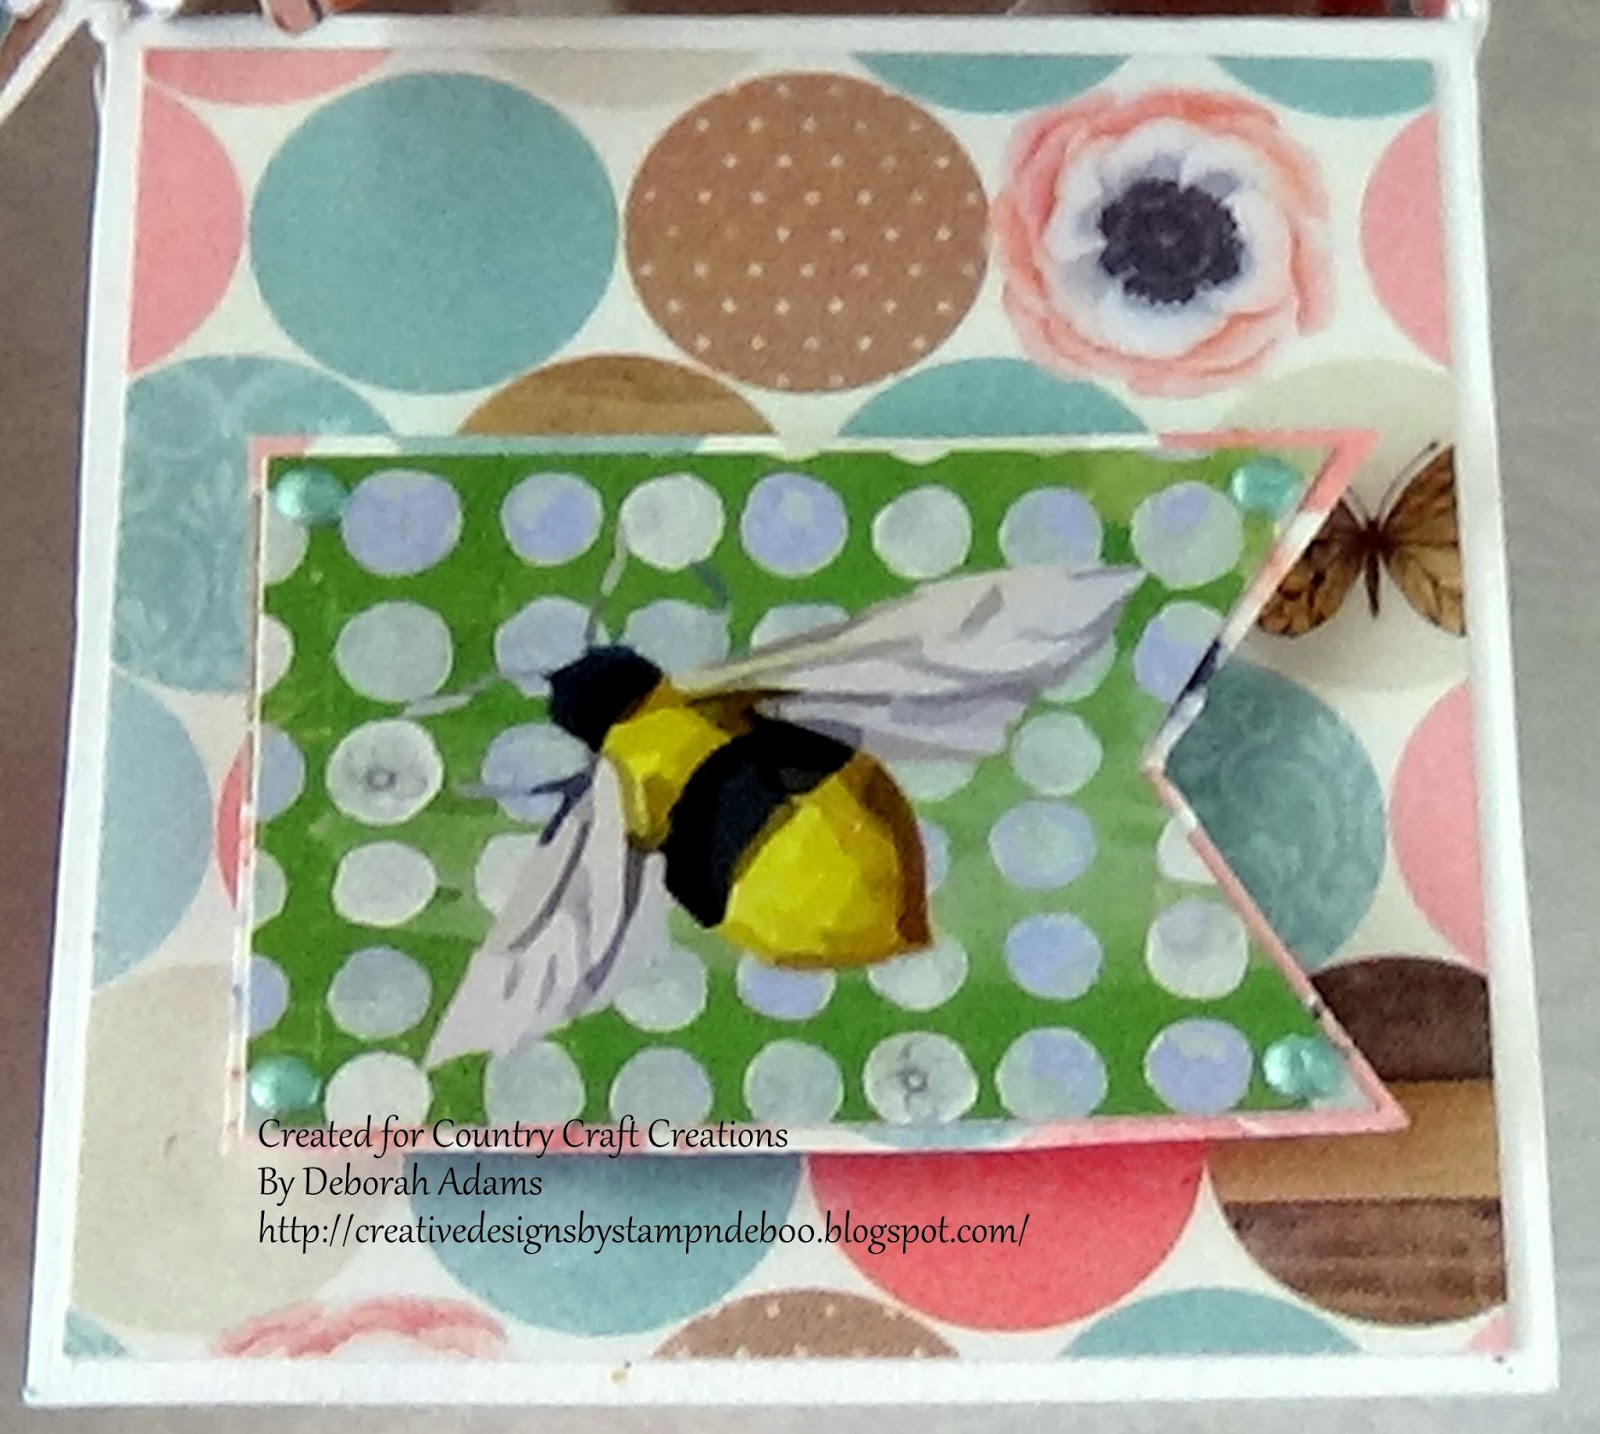
I thought the bee would be a great touch for one of the side panels. 
I also used BoBunny Pearlescents - Island Mist in the corners. 

This is a butterfly sticker from the same sticker sheet. 
I again used a 3D pop up squares behind this sticker. 
I also used BoBunny Pearlescents - Island Mist in the corners. 
Such a beautiful green tone.  

A Close up showing y'all the whole bouquet in the box. 
The banner was fussy cut from the 12x12 sticker sheet as well. 
And everything is held up using the Acetate cut in stips from the BoBunny boxes I received the glimmer sprays in. 
Once you cut your strips you can use your adhesive (I used my craftology box glue)
and glue down the acetate strips to the back of the items you cut and let dry for a 
minute (it didn't take long at all to dry). Once dried you can start adhering them to the 
inside panels that are mounted inside the box. (see below for the tutorial)

Here is a Close Up of that beautiful hummingbird and butterflies.
Gosh, aren't they so pretty! :D 
You can see on the butterflies I used the BoBunny Pearlescents - Island Mist

Here is a CloseUp of the flowers and butterfly using the BOBunny 
pearlescents Island Mist in the middle of the flower and the
butterfly. Isn't it gorgeous!! :D 

Here I placed my mat down on the back panel, then I added the white card stock 
for my sentiments. It is best to stamp or write your sentiment before adhering
this white portion down. 


Thank you for joining me today and I hope you all try one of these Box Cards. You will find lots of videos on YouTube for making these, seriously there are many to choose from and you can make them larger if you'd like. Here is the video I used.Sabrina Radeck -  https://www.youtube.com/watch?v=VYe1W1VecF4
She gives all the measurements for the A2 size and A7 size which is larger. 

Remember you can find this collection herehttp://countrycraftcreations.com/products/bobunny-butterfly-kisses-collection-2-sheets-with-sticker-sheet
http://countrycraftcreations.com/products/pearlescents-island-mist-matches-soiree

Thank you all again for stopping by and Stay Crafty!! :D 
Hugs
Deborah xxx

Wednesday, December 2, 2015

Bo Bunny Christmas Card

Happy December Country Crafters! Crystal here from crystalthompson.net with a new card inspiration featuring Bo Bunny Sleigh Ride Collection. This paper pack is breath taking!


With Christmas coming up, I am making all my cards with this paper pack!


The nativity scene, and background have been cut from paper from this pack. The believe is a sticker also from the paper pack!

Once my card is all finished I adhered it to a high quality card stock from Carta Bella

Products Used:
Bo Bunny Sleigh Ride
Carta Bella White Card stock

Thanks so much for stopping by today!

Crystal 

Friday, September 11, 2015

Bo Bunny Sleigh Ride Sympathy Card

Hello Country Crafters! Crystal here from CrystalThompson.net to kick off the card making inspiration. Today I am showing you a fun card I made using the new release from BoBunny "Sleigh Ride".

This card is full of Bo Bunny goodies! To start we have a card base using Carta Bella White Linen card stock.


Next, we have patterned paper from Bo Bunny in Rustic.


This is embossed using Bo Bunny's glitter paste in Gold.

To finish off, I heat embossed the sentiment onto a piece of Carta Bella White Linen.

I absolutely love this card, its elegant and easy to make!

Currently Country Craft Creations is one of the few places Bo Bunny's Sleigh Ride is available purchase.(No need to wait, or pre-order).


I sure hope you enjoyed this card and it inspires you to make something special.

Thanks for joining me!
 Crystal