
This lovely day I am bringing to you a DT project a Box Card or some people also call it PopUp Box Card. I made this card using the beautiful paper from Tamra's store CountryCraftCreations - Carta Bella white card stock & BOBunny - Butterfly Kisses Collection. You can also see my video on this collection, it's so yummy. https://www.youtube.com/watch?v=35yPw8GI5rg
For this card I used the 12x12 sticker sheet and one of the 6x6 sheets for the panels and I did a lot of fussy cutting from the beautiful 12x12 printed paper with the birds, butterflies and flowers. And there is a back panel to write or stamp you sentiments.
As always I will list the steps or what I did for each photo. Well lots of pic's so sit back and enjoy.


Here is one of the little mason jars from the 12x12 sticker sheet.
I also used the BoBunny Pearlescents - Island Mist on the flower center.
It's so pretty. I also popped these up using the 3D pop ups.

Here is another sticker I used and I did the 3D pop ups behind it.
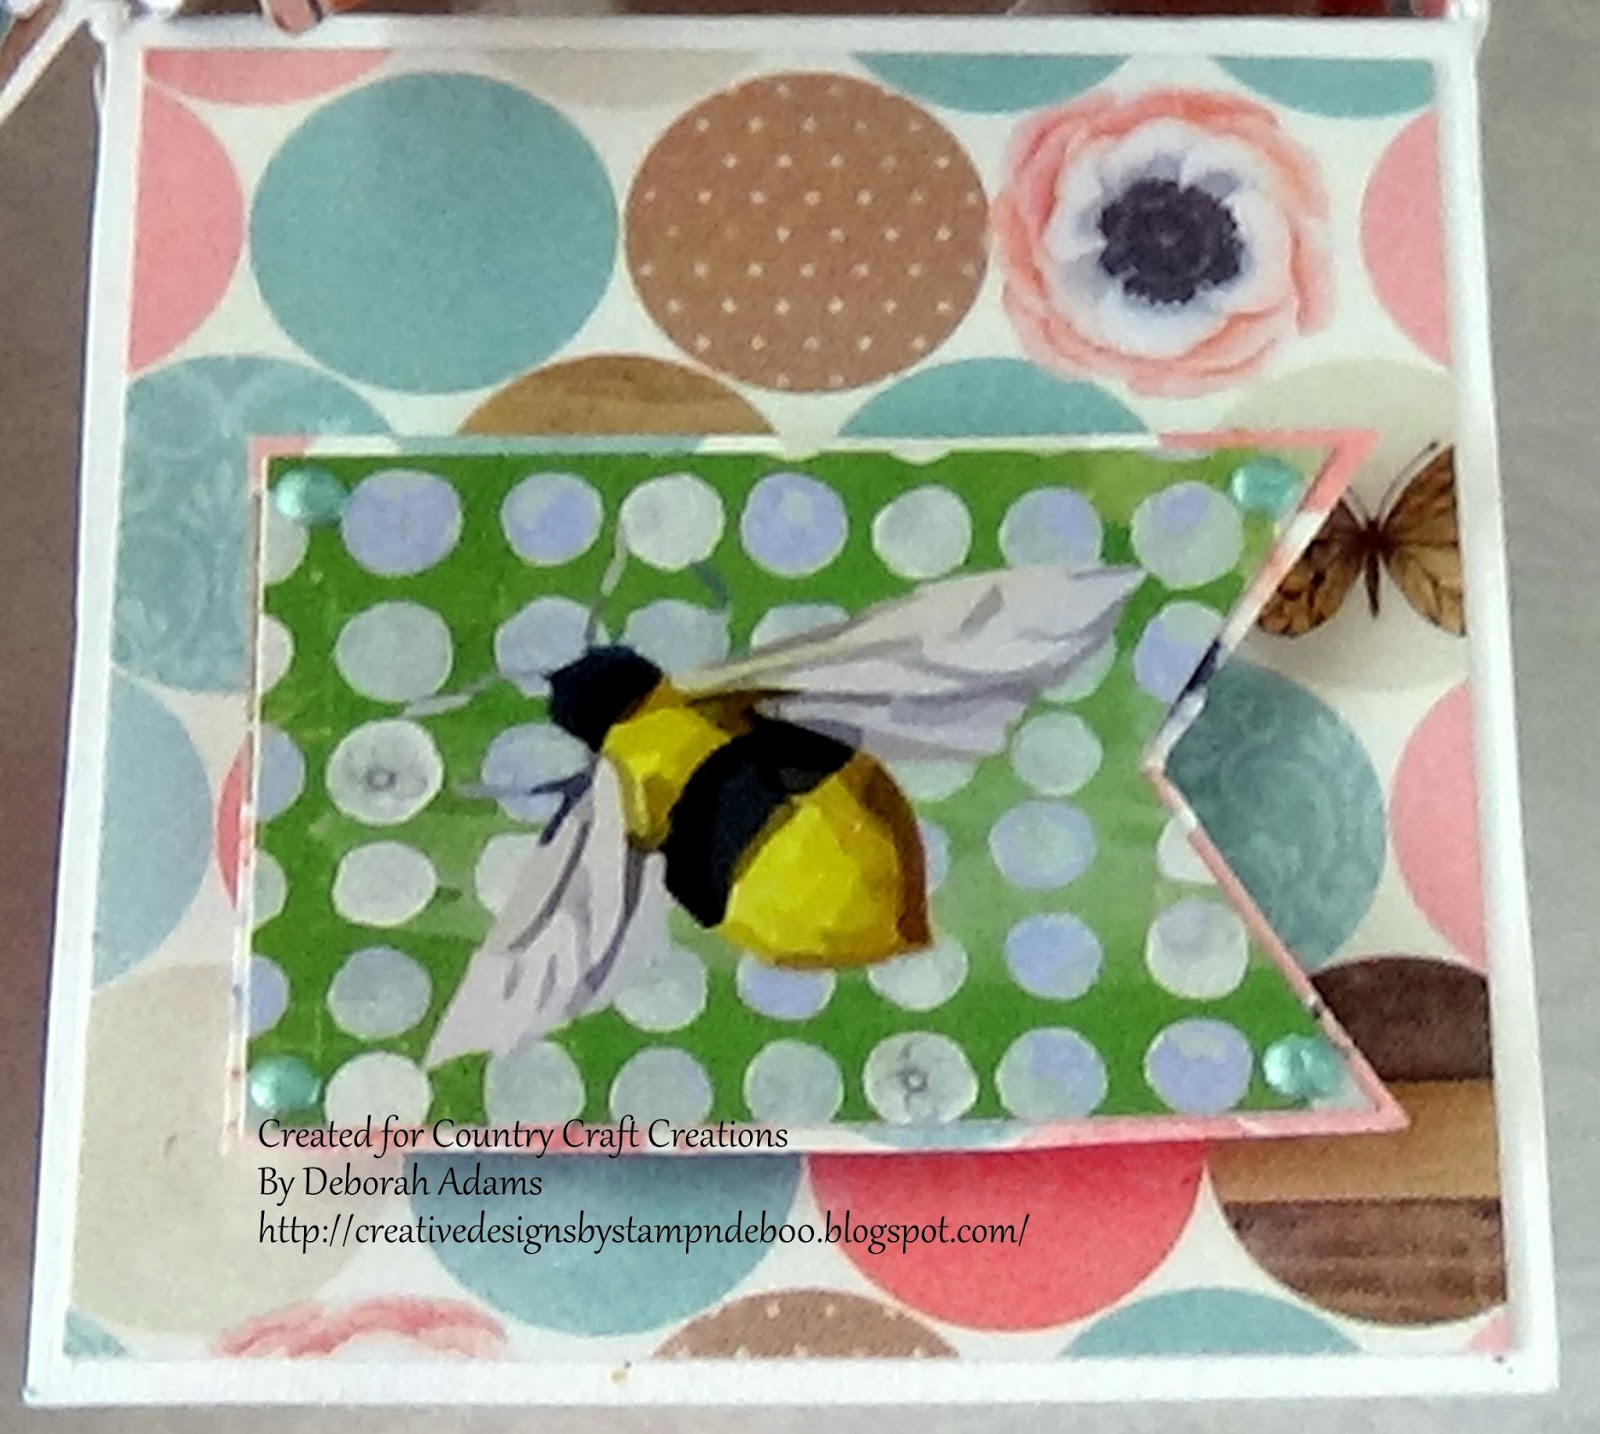
I thought the bee would be a great touch for one of the side panels.
I also used BoBunny Pearlescents - Island Mist in the corners.
This is a butterfly sticker from the same sticker sheet.
I again used a 3D pop up squares behind this sticker.
I also used BoBunny Pearlescents - Island Mist in the corners.
Such a beautiful green tone.

A Close up showing y'all the whole bouquet in the box.
The banner was fussy cut from the 12x12 sticker sheet as well.
And everything is held up using the Acetate cut in stips from the BoBunny boxes I received the glimmer sprays in.
Once you cut your strips you can use your adhesive (I used my craftology box glue)
and glue down the acetate strips to the back of the items you cut and let dry for a
minute (it didn't take long at all to dry). Once dried you can start adhering them to the
inside panels that are mounted inside the box. (see below for the tutorial)

Here is a Close Up of that beautiful hummingbird and butterflies.
Gosh, aren't they so pretty! :D
You can see on the butterflies I used the BoBunny Pearlescents - Island Mist

Here is a CloseUp of the flowers and butterfly using the BOBunny
pearlescents Island Mist in the middle of the flower and the
butterfly. Isn't it gorgeous!! :D

Here I placed my mat down on the back panel, then I added the white card stock
for my sentiments. It is best to stamp or write your sentiment before adhering
this white portion down.

Thank you for joining me today and I hope you all try one of these Box Cards. You will find lots of videos on YouTube for making these, seriously there are many to choose from and you can make them larger if you'd like. Here is the video I used.Sabrina Radeck - https://www.youtube.com/watch?v=VYe1W1VecF4
She gives all the measurements for the A2 size and A7 size which is larger.
Remember you can find this collection herehttp://countrycraftcreations.com/products/bobunny-butterfly-kisses-collection-2-sheets-with-sticker-sheet
http://countrycraftcreations.com/products/pearlescents-island-mist-matches-soiree
Thank you all again for stopping by and Stay Crafty!! :D
Hugs
Deborah xxx
No comments:
Post a Comment
Note: Only a member of this blog may post a comment.